Before the Gritter Passes: A Salt-Proofing Walkaround for Quarter-Tonne Bikes
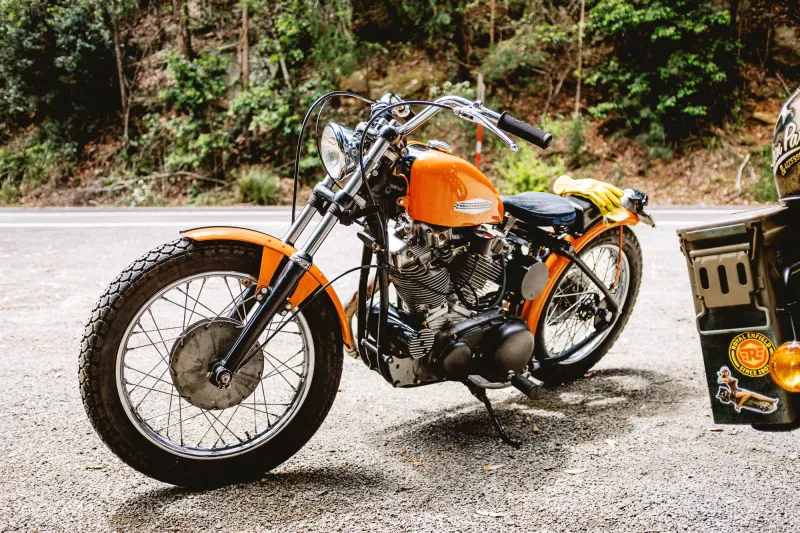
Photo: motorcycle corrosion inspection winter salt UK workshop, via www.webbikeworld.com
By the time the gritters are out in force, the useful window has usually gone. Salt does not wait for a convenient weekend. It lands on a hot exhaust, gets flicked into a mudguard, sits in a frame pocket and starts doing its quiet work while the bike is parked outside a cafe. A quarter-tonne tourer is especially good at hiding the evidence. There is a lot of bodywork, a lot of fasteners and a lot of places where water can linger.
This is not a show-prep routine. It is a pre-winter audit: find the weak spots now, clean them properly and put a sensible barrier between the metal and the road. Do it on a cold, dry bike if you can. Warm metal and cold water are not a helpful combination, and you want to see the corrosion before you wash it away.
Start With a Torch, Not a Hose
Give the bike ten minutes of honest looking before any water goes near it. A small LED torch and a cheap inspection mirror will earn their keep. Check around the bottom yoke, behind the radiator, inside the mudguard, around the battery tray, under the pannier frames and along the lower engine cases. You are looking for white furring on alloy, rust bloom around bolt heads, damp trapped behind a trim panel and the sort of grey scum that says water has been sitting there for a while.
If you find heavy corrosion on a brake pipe, a suspension component or a structural mounting, stop and get it assessed properly. This is a protection job, not a welding job.
Brake Lines and Fittings
Follow the brake lines from the master cylinder down to the ABS pump and on to the calipers. Pay attention to every clip that holds a line against the frame or swingarm. Corrosion likes the gap between a steel clip and an aluminium bracket. Look for cracked rubber ferrules, green crust around banjo fittings and any sign of weeping fluid. A brake line that is pitted or swollen is not a candidate for a bit of spray and a prayer.
Clean gently around the fittings with a soft brush and a brake-safe cleaner. Keep silicone-based protectants well away from discs, pads and caliper pistons. If you are not sure what a product will do near brakes, do not use it there.
Fasteners and Alloy Cases
Heavy tourers collect fasteners like a jacket collects badges. Mudguard bolts, fairing screws, engine case bolts, fork lower pinch bolts and centre-stand pivots all deserve a look. Stainless bolts threaded into aluminium can look fine until you try to remove one. A little copper grease or ceramic anti-seize on clean threads is cheap insurance, but do not go wild with torque. Small fasteners into alloy cases have a habit of stripping if you treat them like wheel nuts.
Alloy cases respond well to a gentle clean and a protective film. Avoid wire brushes and aggressive acids. A soft brush, a mild cleaner and a good rinse are usually enough. Dry properly, then protect.
Connectors, Earths and Frame Pockets
Lift the seat and the side panels. Look at the battery terminals, the main earth strap, the fuse box and every multi-plug you can reasonably reach. Green fur inside a connector is a future breakdown with a timetable. Clean it, dry it and use a little dielectric grease on the terminals. Check that drain holes are clear. A blocked drain turns a frame pocket into a small, salty bath.
Frame pockets around the headstock, swingarm pivot and behind the panniers are worth a specific look. So is the area around the shock linkage and centre stand. If water can sit there, salt will find it.
Wash Without Waterboarding
Use low pressure. A pressure washer aimed at wheel bearings, fork seals, radiator fins or electrical connectors is not cleaning; it is redecorating the inside of the bike with water. A two-bucket wash with a soft mitt is slower but kinder. Rinse, wash, rinse again, then dry with a blower or clean towels. Pay particular attention to the places you just inspected.
Protection That Lasts
Once the bike is genuinely dry, apply a proper corrosion protectant. ACF-50, XCP Rust Blocker and FS365 all have their fans, and the best one is the one you will actually reapply. Avoid brakes, tyres and hot exhausts. A light mist into frame pockets and around fasteners is better than a heavy coat that turns into a sticky grit magnet. Wax the painted surfaces if you like, but the priority is metal, connectors and hidden cavities.
Reapply after washes and every few weeks through the salty months. A monthly ten-minute recheck is more useful than one heroic session in November. If you ride through a salty night, a cold low-pressure rinse and a dry-off will do more good than leaving the bike coated in grit until Sunday.